I have over 103% in the class so I qualify for Ray of Sunshine.
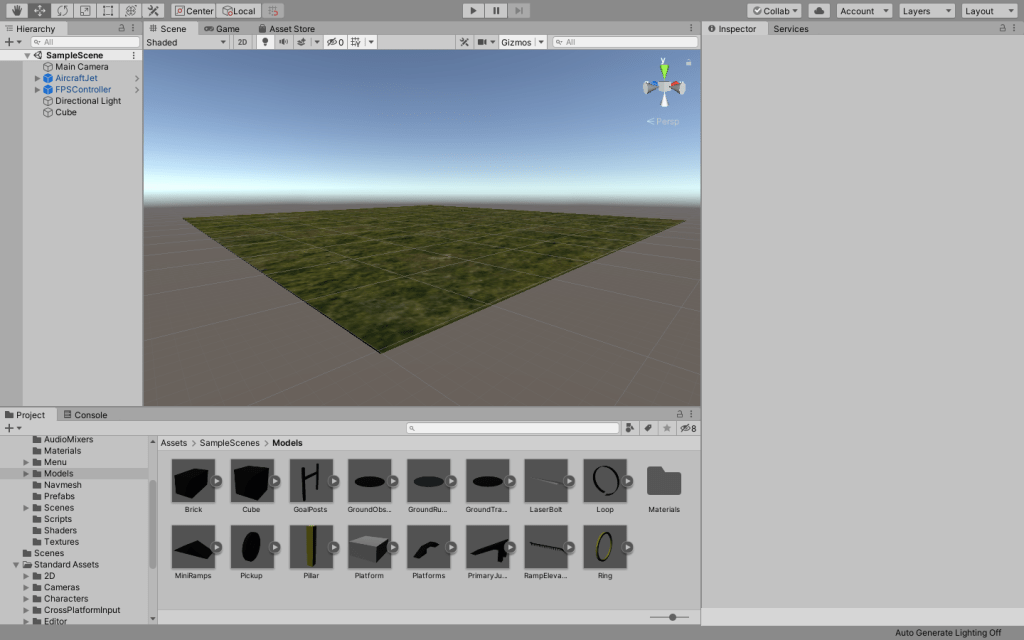
However, I have created a beautiful platform in unity for you to look at. Enjoy!
Thank you Lucas for a great semester. I came into the class worried that I would fall short because of my lack of technical capabilities. However, with your help I have thrived and gained confidence in the tech realm. Thank you, and I hope to see you around!
I have over a 103% so I qualify for Ray of Sunshine.
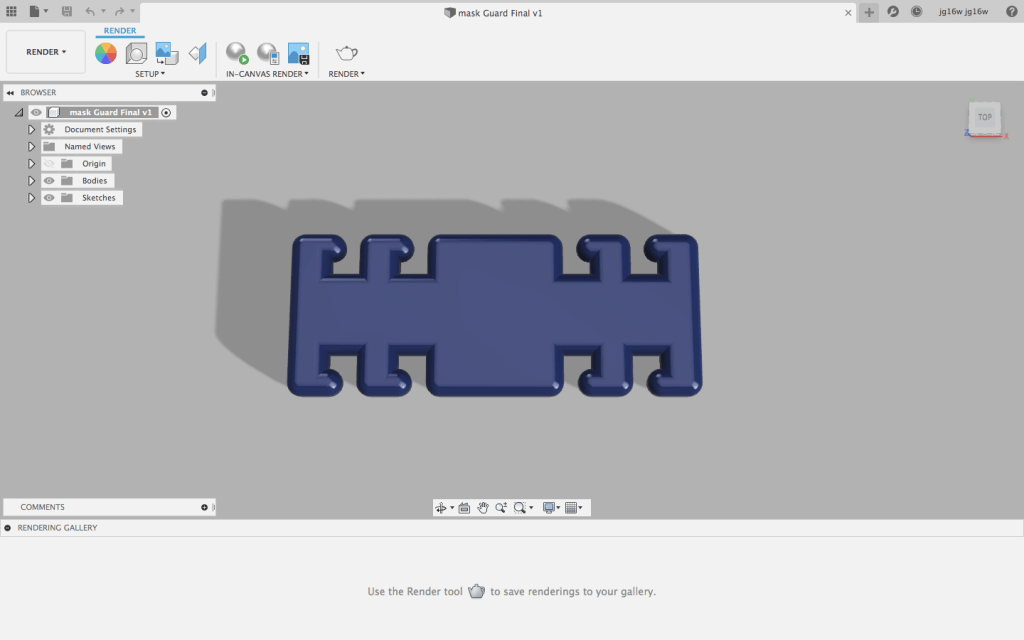
However, this is what I have done so far. I decided to change my idea to a face mask guard because its easier to make and also is greatly needed due to COVID-19.
Model 1 was, as you know, a very simple box with a hole in the middle and filleted edges. Model 1 was also the first image that we rendered in class. Overall, the shape helped introduce me to the interface of Fusion 360 and its tools.
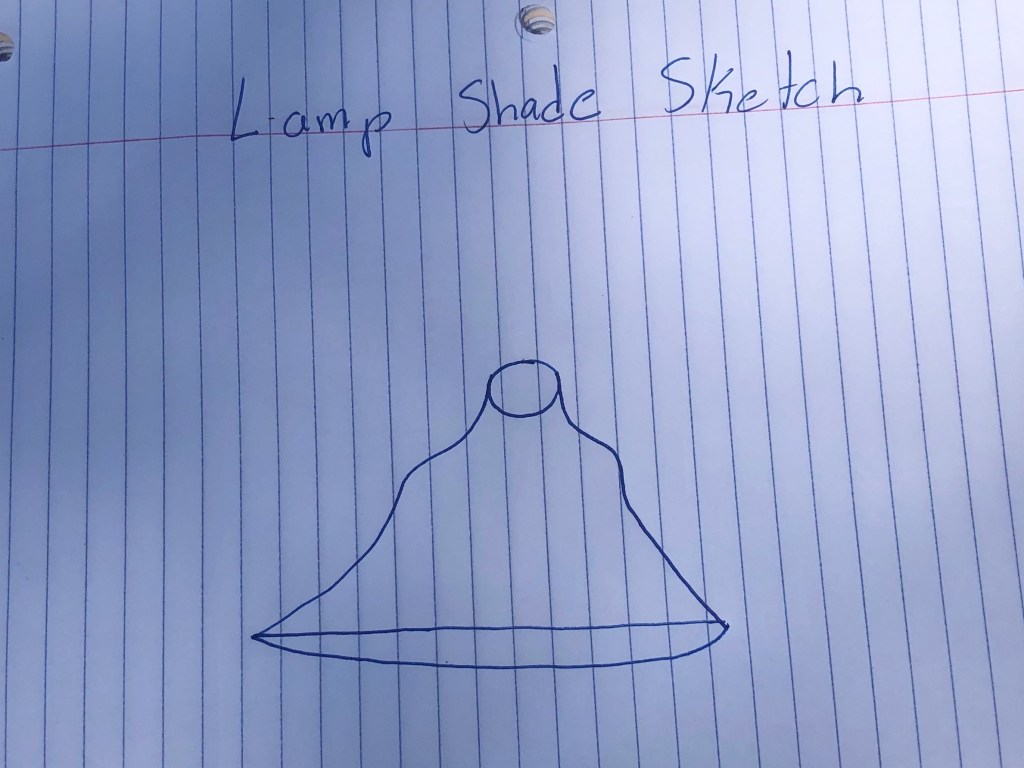
Model 2: Lampshade
When I was first designing my lamp shade, I sketched a rough version of what I wanted it to look like.
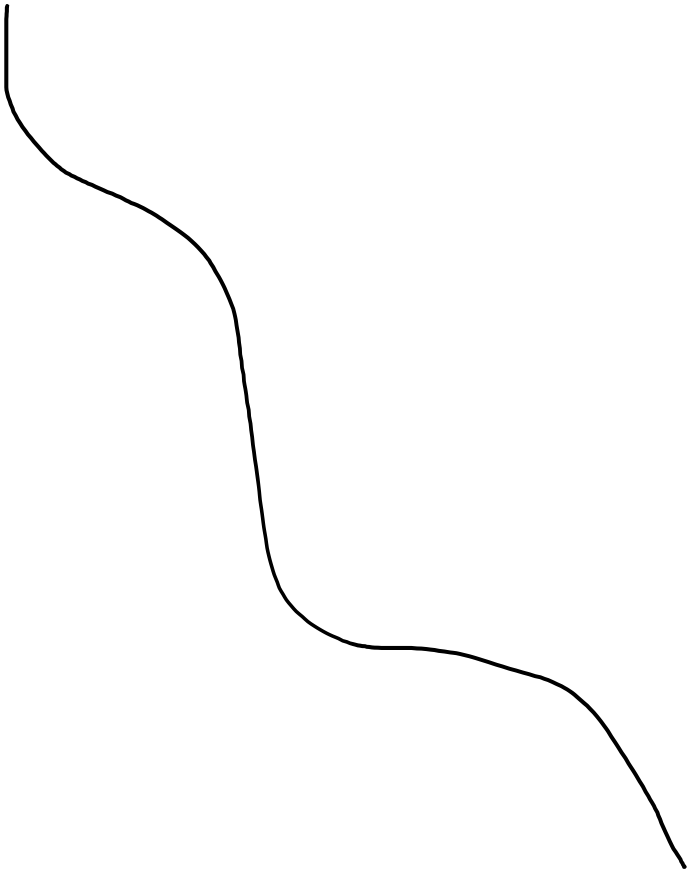
The second step was to sketch a line that would eventually be rotated to create the overall shape of the lamp shade. I used Microsoft Word to do this.
For the last step, I shelled the overall shape so that it would be hollow in the middle and added a whole for the lightbulb at the top. I then made the shade solid gold because I am a baller and rendered the final model.
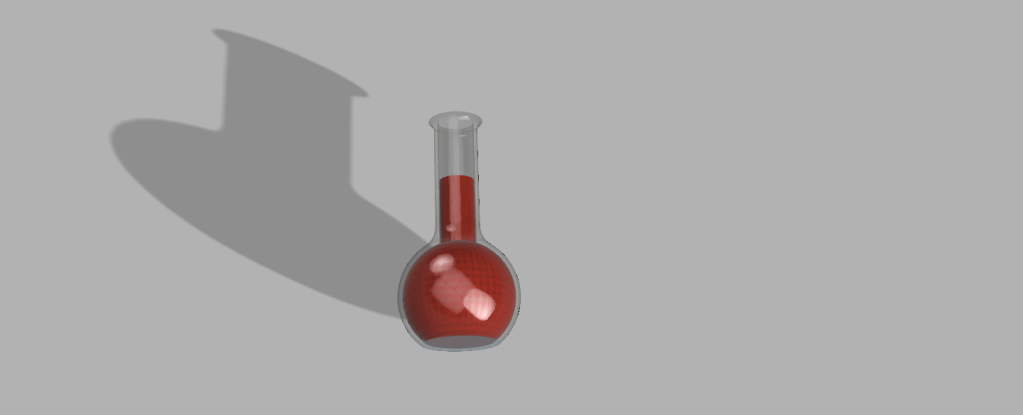
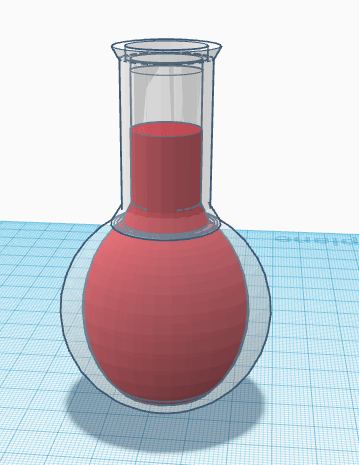
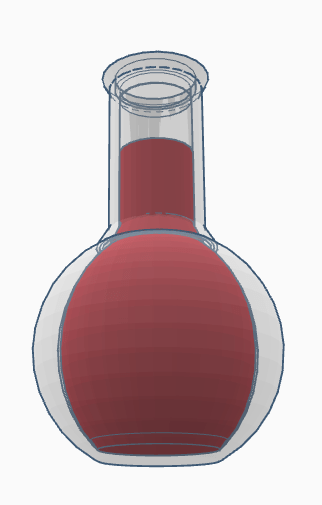
Model 3: The Flask
The third model was a glass or plastic flask with a red liquid inside. In order to create the flask, I first designed half of the flask. I then designed half of the liquid inside of the flask. I then selected the half designs and rotated them both on the y-axis 360 degrees to create the 3 dimensional shape. Last, I made the outer shape glass and the inner shape red and rendered it.
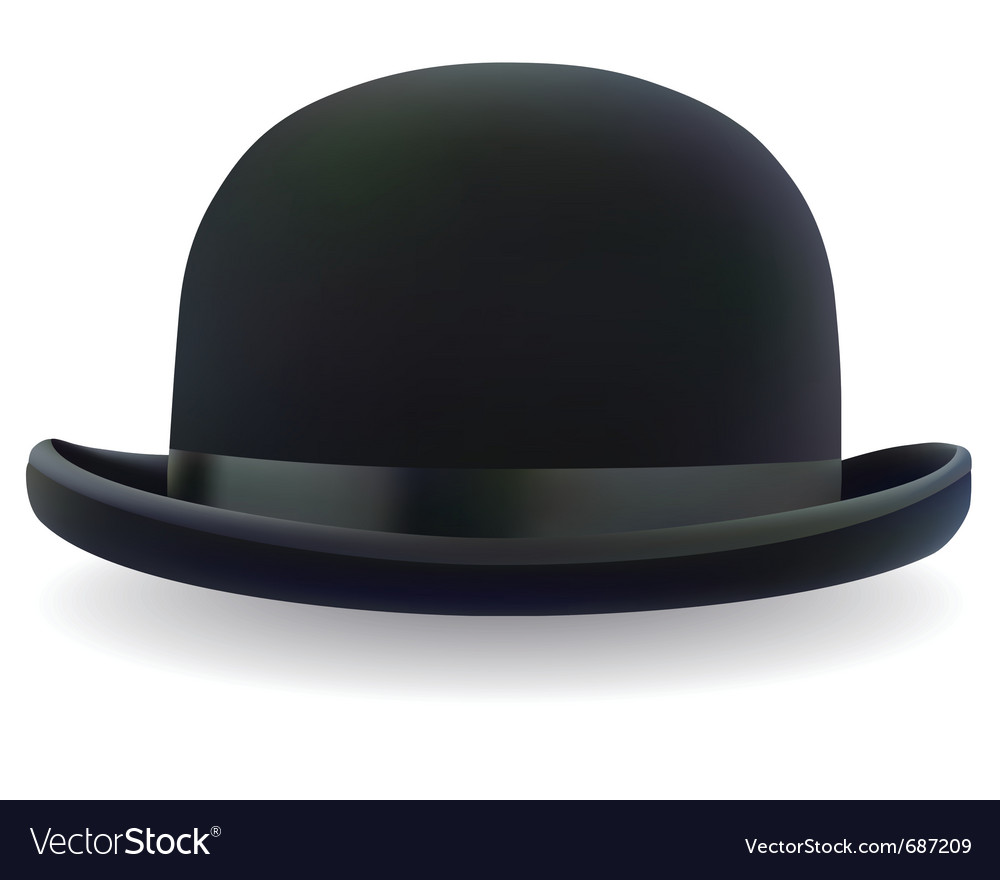
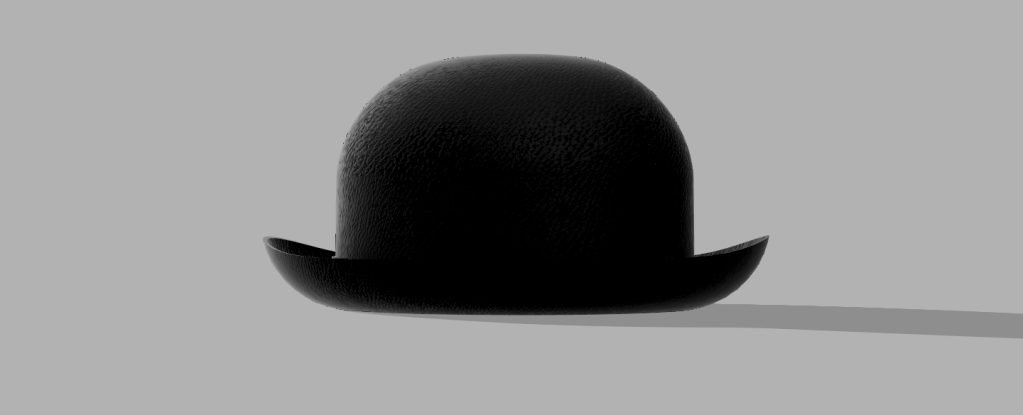
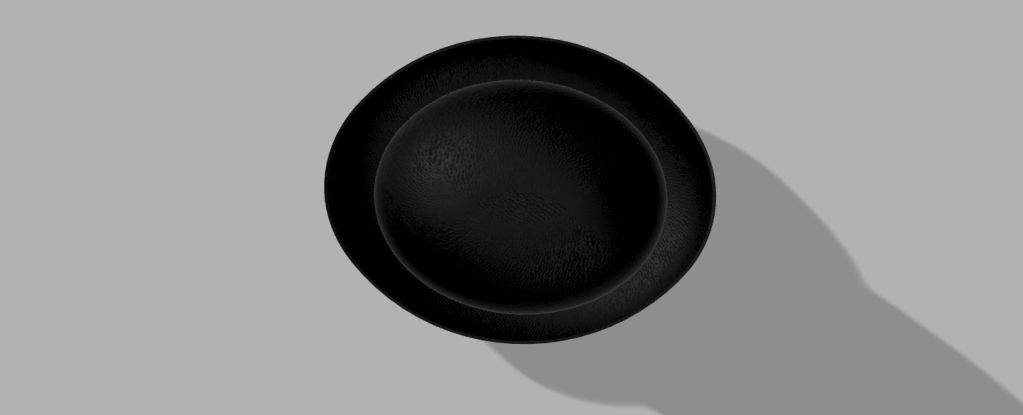
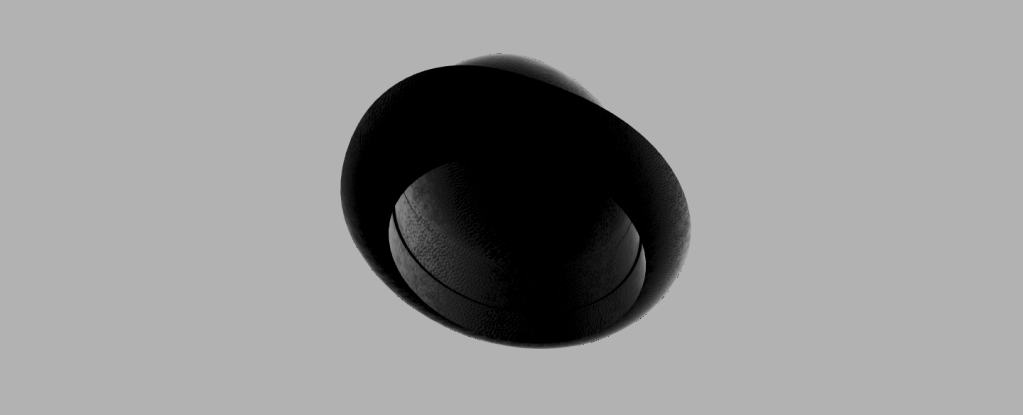
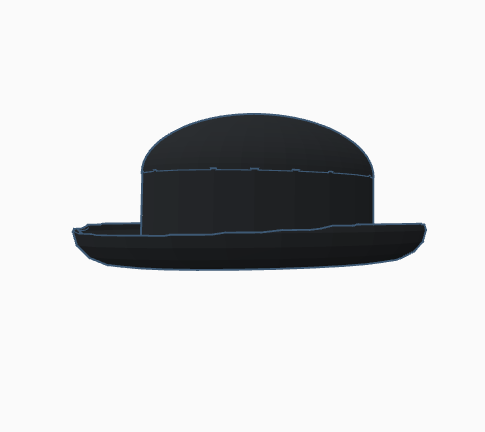
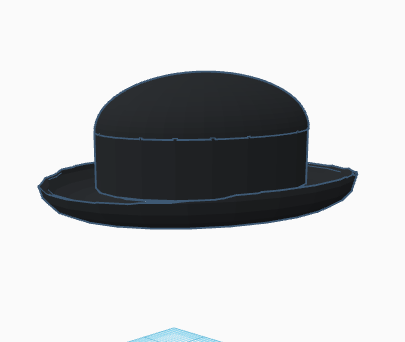
Model 4: Bowler Hat
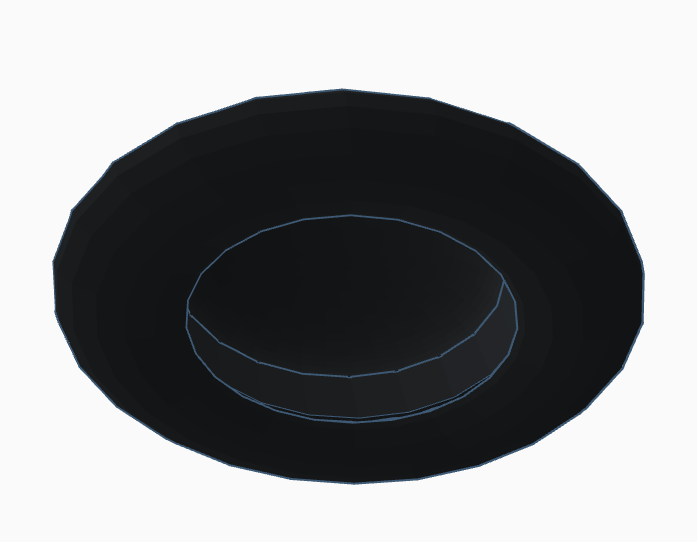
When designing the bowler hat, I first found an image on google that I could roughly base my hat’s unique shape to. The only important part to choosing the photo is that it could not be taken at any angle. I then lined up 2 ellipses to the image and extruded them to create a box hat type shape. Next, I filleted the sides to create the curved portions and shelled both in order to create the rough shape. However, the rim was not cut properly. In order to cut the rim, I used a fit point spline. I drew the shape of the rim and then extruded the shape through each side of the hat. This left a hole through the whole hat. To finish off the shape, I extruded the shape above the hole down to fit and connect with the rim. I then changed the texture and color to black leather in order to match the example from class.
TOPBottom
OVERALL
Overall, I thought that fusion 360 was the easiest system to use. I particularly liked the fact that there were endless ways to accomplish different steps for each model. This made life way easier.
I have trouble holding up my phone to watch Netflix when I am laying in bed. I will be 3D printing a phone holder that you can lay under in order to watch Netflix.
Object 1 was very simple due to the tutorial instructions. Creating the object did not take more than 15 minuets.
Object 2
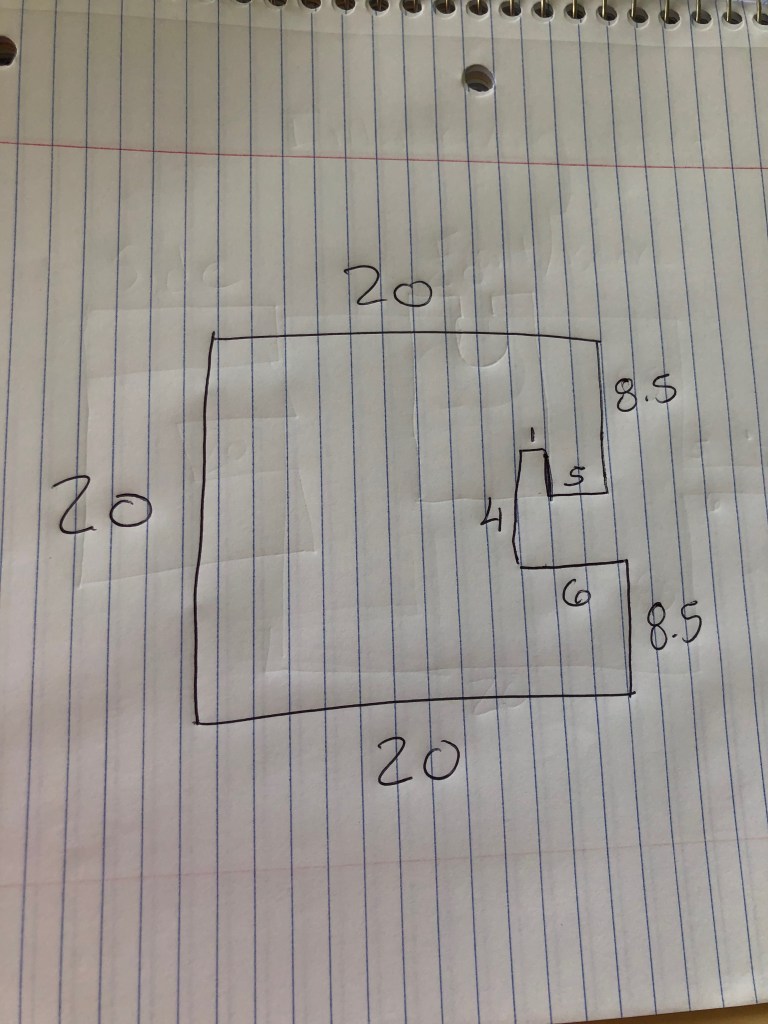
Object 2 Sketch
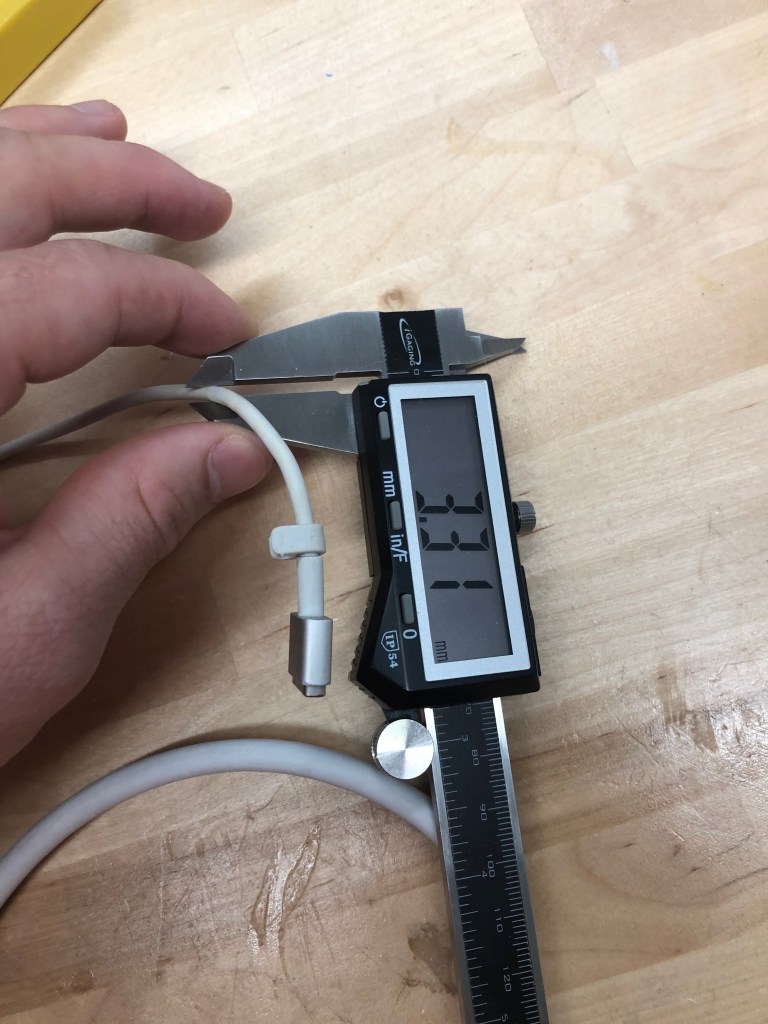
Object 2 is a clip, that connects to a desk, that keeps a charging cord from falling to the ground. For my design i went with a very simple design which was very much like the one that was created in the demonstration in class.
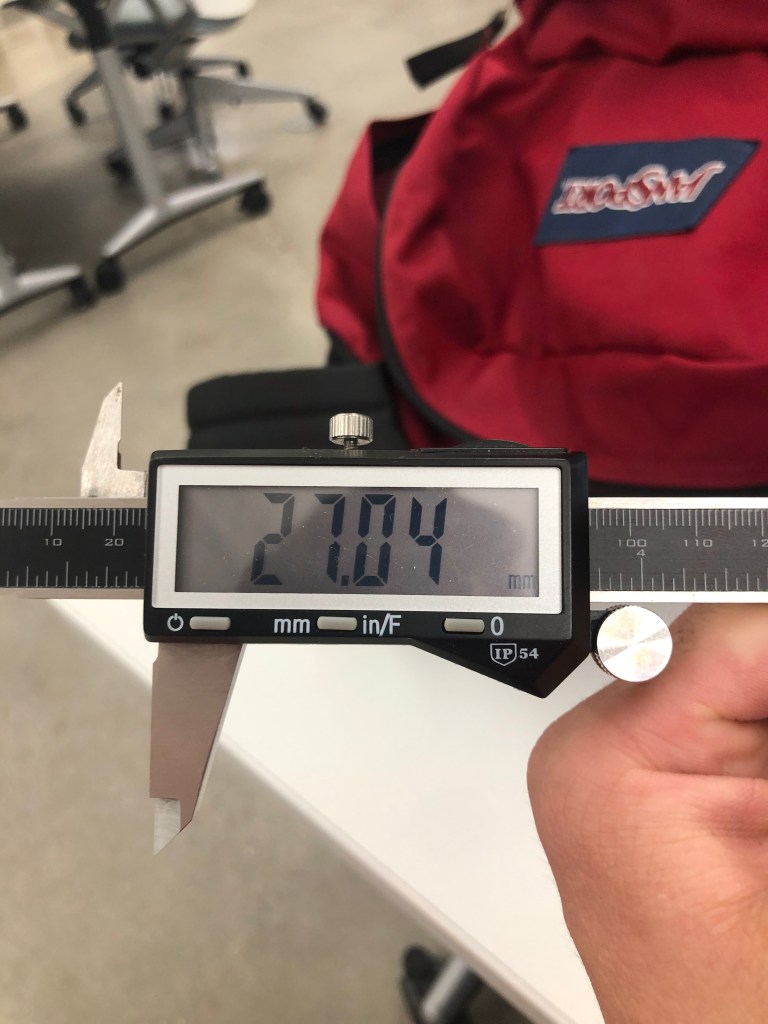
Table Measurements
In order to ensure that the clip fits properly onto the table I measured the desk and the charging cord that the clip was built for. As you can see below, the desks width was 27.04 mm wide and the cord was 3.31 mm wide.
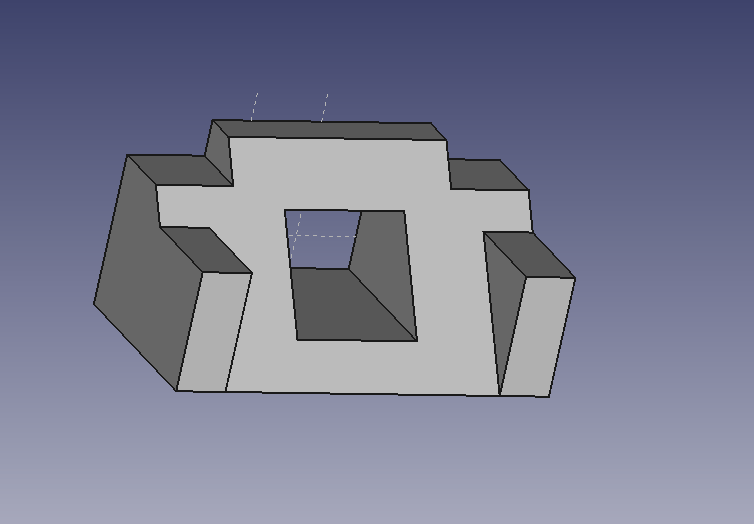
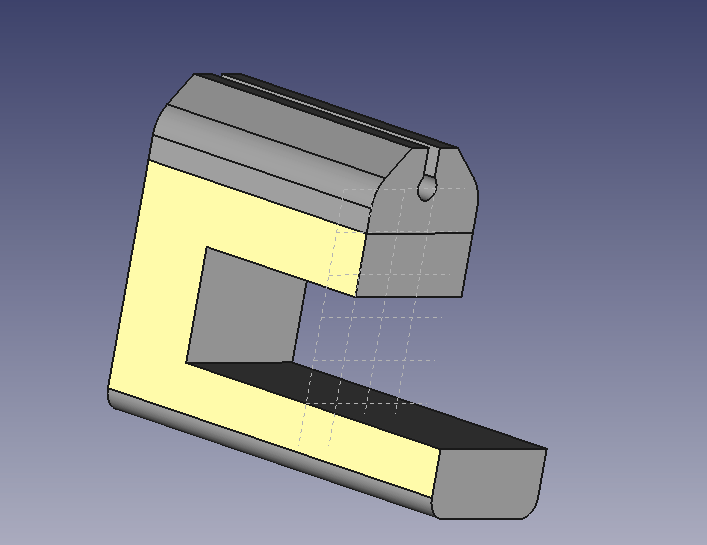
Object 2 Design
When I designed the final product I adjusted the width of the hole, that the cord goes into, to 6 mm to allow for easy fit. I also adjusted the opening on top of the whole to 4.5 mm in order for easy sliding of the cord into the hole, but still allowing for a tight fit. Lastly, I refined the edges to make the object smooth and uniform.
Object 3
Object 3 Sketch
My original design for the interlocking objects was a cube with a small arm that extends from one of the sides and another cube with a fitted hole. The arm would have a notch on the end and would be inserted into a second cube that had a hole that fit the arm. The cube would then be flipped 180 degrees in order to secure the objects together.
Object 2 Design
The final design of the interlocking object was slightly different than my original idea. I was unable to fit a small arm on one of the sides of the cube. Every time I attempted to do just that, the arm would be the same width as the cube itself. I also had trouble creating the hole in the other cube that would lock in the first cube. In order to do my best, my final design still consisted of some aspects of my first design. The first cube still consisted of an arm; however, the arm was the same width as the cube. The second cube also had a hole; however, the hole was the same width as the cube as well. I made the measurements of the hole .02 mm larger than the arm in order for a tight fit. This would insure that the cube with the arm would not slide out from the other. Overall, the 3rd design was the most difficult. I had to make some compromise, but I feel like my design is pretty solid.
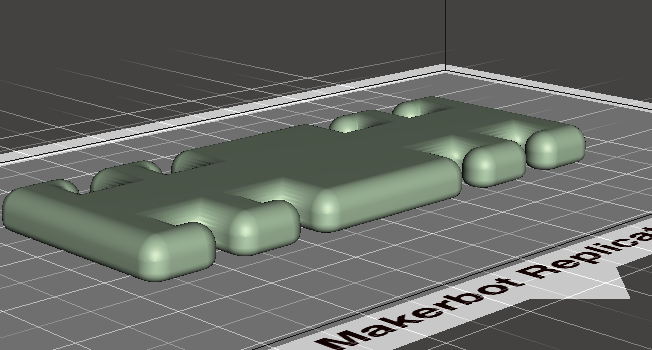
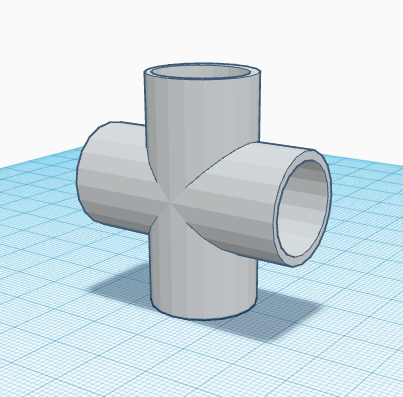
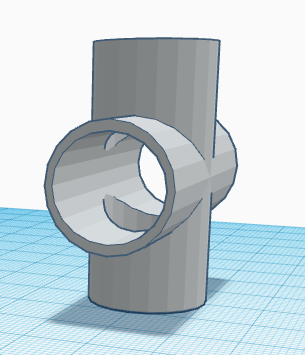
The PVC pipe was definitely the easiest object to make. The object is made in three simple steps. First, I put two solid cylinders in a cross shape. Second, I did the same with two slightly smaller void cylinders. Third, I centered each cylinder. The PVC pipe was a good introduction.
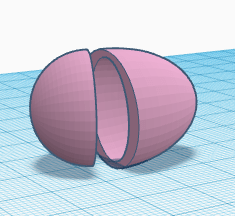
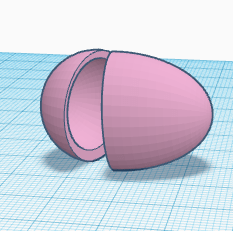
2) Egg
A lot like the PVC pipe, the egg was an easy object to make, consisting of only four shapes. First, I took two spheres; keeping the first sphere in its default shape and elongating the second sphere. Second, I copy and pasted each sphere making them slightly smaller than their original shape. Third, I lined them up and tilted them slightly.
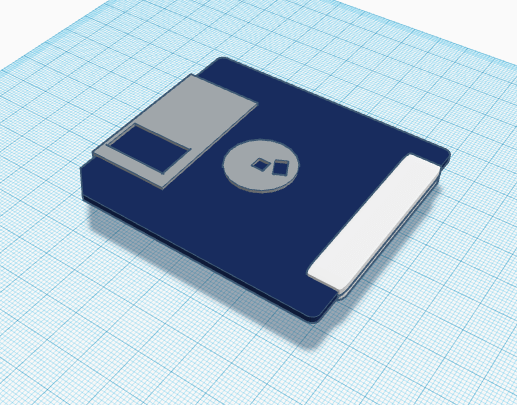
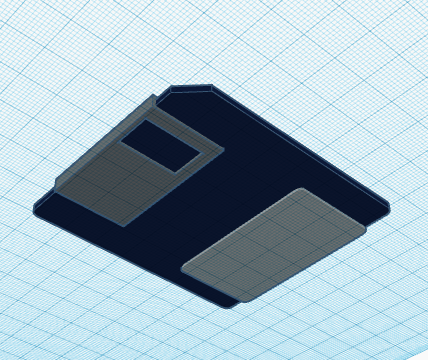
3) Floppy Disk
The third shape, the floppy disk was slightly harder to make than the first two shapes. The floppy disk was made from a series of different cubes and cylinders. When creating the floppy disk I learned how to round the sides of a cube and how to center the circle on top to the middle of the cube.
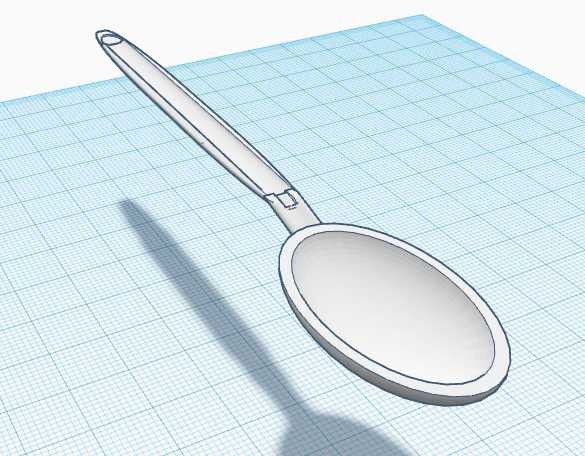
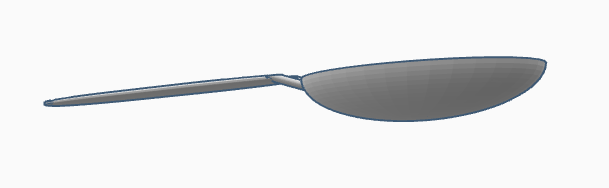
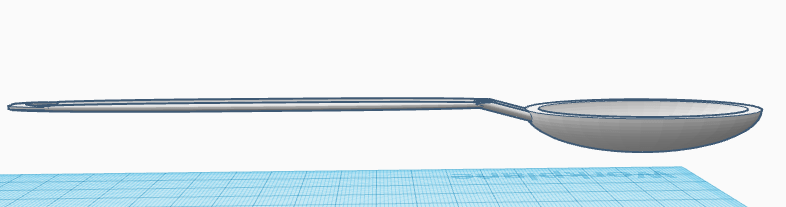
4) Spoon
The spoon is where I had my first troubles using Tinker CAD. However, I believe I did the best I could with the system at hand. The bowl of the spoon was the easiest part of the object to make. The curve between the bowl and the handle was the hardest part of the spoon to make. To make the curve I first used a cylinder. Second, I indented the cylinder using a void cylinder. Third, I tilted the new shape to match the curve on the spoon. Fourth, I lined the spoon bowl and the spoon handle to the curve, so that it would be centered. Fifth, I moved the handle slightly over the curve. Last, I used a void cylinder to cut out the overlapping portion of the handle.
5) Bowler Hat
The Bowler hat was harder to make than the egg or PVC pipe, but easier to make than the spoon. The top of the hat was simply a cylinder and a sphere with a slightly smaller void cylinder and void sphere inside. However, the brim of the hat was quiet difficult to make. In order to make the brim of the hat I used four torus shapes; three void torus shapes and one filled in torus shape. I used the first void torus to make an even brim around the hat. Then I used the other two void torus shapes to make the slight indents on each side of the brim by off setting them slightly to the left and the right. Lastly, I grouped the torus shapes together and aligned them with the top of the hat.
6) Flask
The flask is the object I had the most trouble with. The shape of the flask and liquid was not the challenging part of the object. I used simple shapes such as spheres, cylinders, and the occasional cone. However, I spent a great deal of time trying to get the lines of each shape to line up. I centered the shapes, lowered/raised the shapes, and I even redid the whole object in an attempt to clean up the lines; however, nothing was successful. In FreeCAD you are able to refine the shape however, in Tinker CAD I know of no such option. Because of this, the flask has many extra lines and does not look clean and uniform.
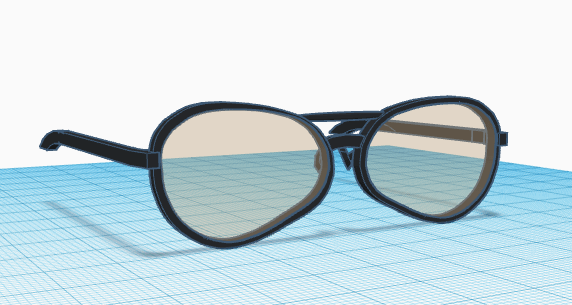
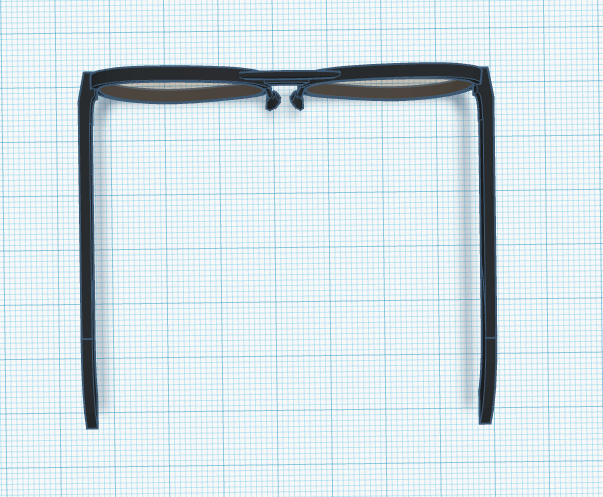
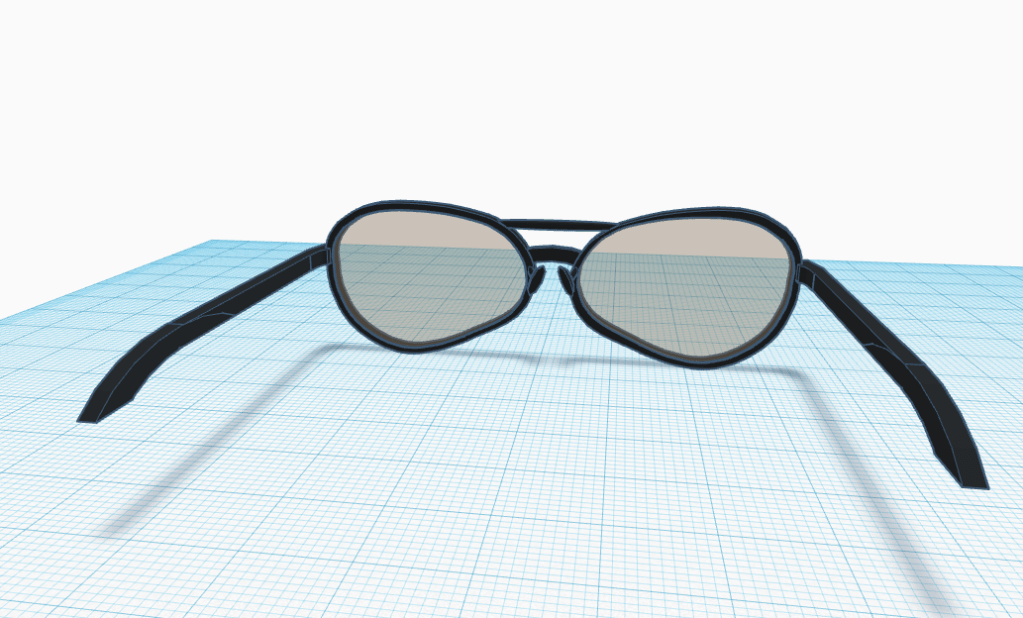
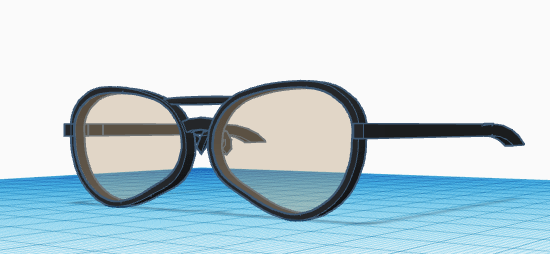
7) Aviators
In order to make the aviators, I started by sketching the shape of the lens on an iPad with the sketch tool. The shape I drew is not perfectly symmetrical; however, the shape is pretty close. I then copy and pasted the shape to create a smaller version which would be turned into a void shape. I then did the same for the lens and lined them up with the frame. Next, I had to create the two nose bridges. I simply elongated the tube shape and cut them with a cube void. For the top bridge I then rounded out the shape. Then I made the portion that extends to the ear. I did this by using the letter “J” which was trimmed using a cube void. I again used another “J” which was trimmed by a cube void to create the downward curve at the end of the ear piece. Lastly, I used a diamond to create the nose guard. I did this by cutting the pyramid bottom portion of the diamond with a cube void. This created a great shape for the nose guards. I then attached them to the frame using small cylinders.
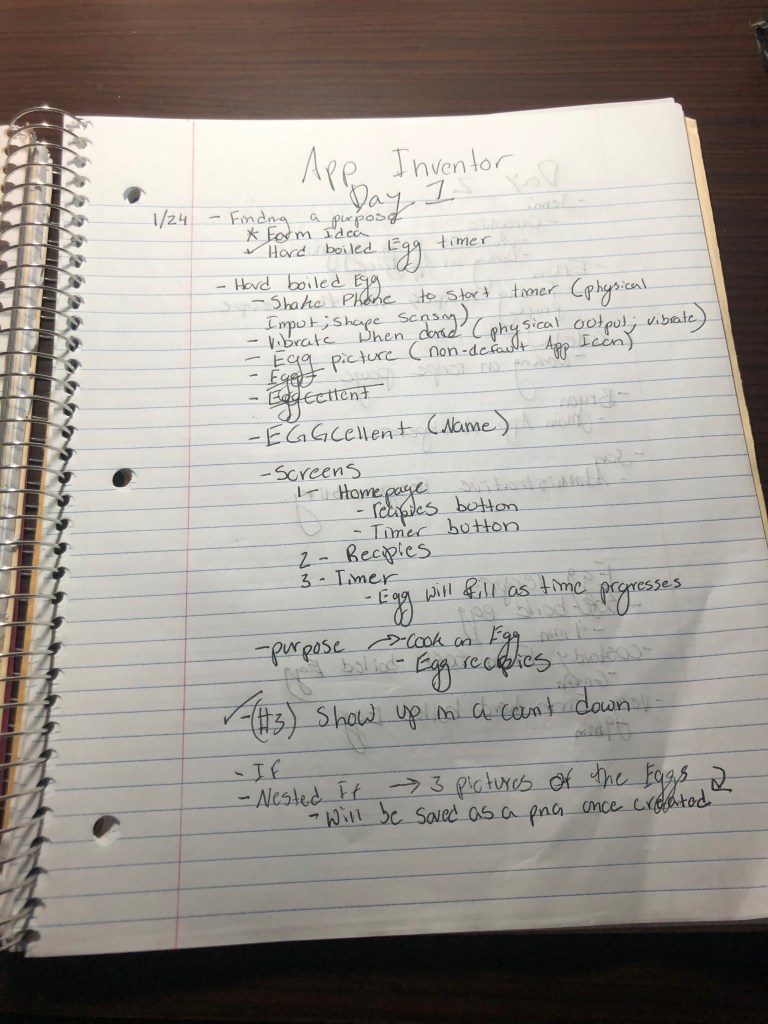
So far, my group has gotten pretty far given the time to work on our app. We are in the final stages of developing “EGGcellent”. “EGGcellent” is an interactive app that is a one-stop-shop for egg cooking. The app contains a page that has three timers for three different types of hard-boiled eggs: soft-boiled, medium-boiled, hard-boiled. When a user chooses one of the categories and shakes the phone, a timer begins, and an egg starts to begin to be shaded in from bottom to top. Another part of the app contains three different recipes for cooking eggs: scrambled eggs, basic poached eggs, basic boiled eggs.
Yesterday, Monday, my team was able to finish most of the app during our group work. We have all the screens and buttons finished. However, we had a slight malfunction with the timer counting down. When we tested the app, we had a team member shake the phone while in timer mode and the timer only counted down one second. For example, the timer went down from 259 seconds to 258 instead of continuing down all the way down to zero. We are currently working on fixing the problem and plan to have it fixed by Wednesday for testing. If we cannot fix the problem we will have to find another way to add a physical input.
The notes attached below show how the team planned on completing each objective outlined under assignments:
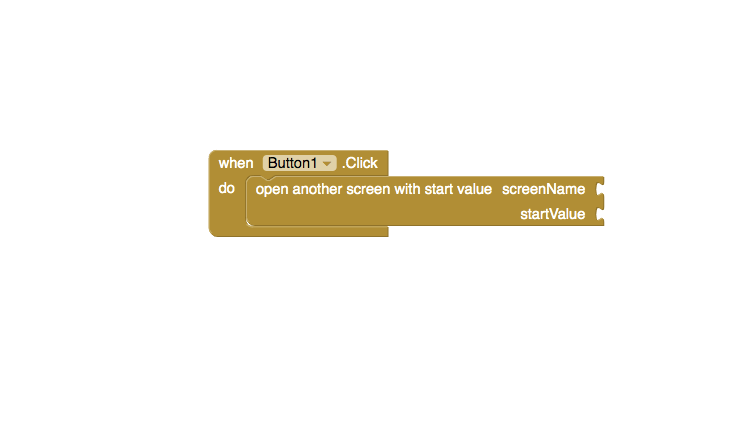
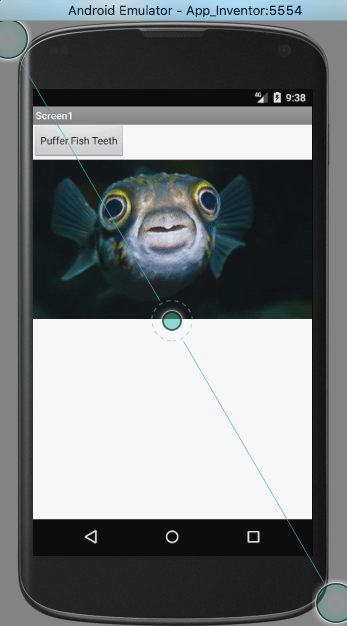
The app that I wanted to create would have included a photo of a pufferfish and a button that read “Pufferfish Teeth”. When said app user would click the button “Pufferfish App” then the picture would change to a close up of pufferfish teeth (which are actually really funny to look at). I had no problem uploading the two different photos on two different screens. I also had no trouble inserting the button. However, when it came to putting together the puzzle pieces that would direct the app to change screens when the bottom would be pressed was challenging.
As you can see in the photo attached, I could not figure out how to insert the proper “screen name” and start value. Everything in app inventor seemed to be working properly and I was not having any technical difficulties. However, I do believe that the short falls were due to user error.
Overall, I when I decided I did not have the time nor the skills to create the app I wanted to create I decided to try to export the app. Exporting the app went very smoothly. I simply dragged the downloaded version of my app onto my computers emulator. See picture attached:
The app instantly appeared in the emulator’s apps. See photo attached:
In conclusion, I would have liked to get my app working properly, but in time I soon think I might be able to.
Hi, I’m Jonathan Gallon hailing from the great city of Boca Raton. I major in Political Science and International Affairs. I am the product of two public school teachers. My mother teaches reading to high schoolers and my dad teaches American History to middle schoolers. Sounds fun right? However, my parents inspire and encourage me, every day, to be the best student and person I can be. I’ve been an FSU fan since birth. My dad graduated from FSU in 1979. My household bleeds garnet and gold.
Now onto the more interesting stuff. I enjoy everything that has to do with water: fishing, boating, surfing, and swimming. I started fishing at a really young age; fishing in any body of water I could find near my house. Fishing has taught me to be patient, but also to jump onto opportunity kinda like when u feel a fish hit that bait. Here is a picture of me with a slot redfish!
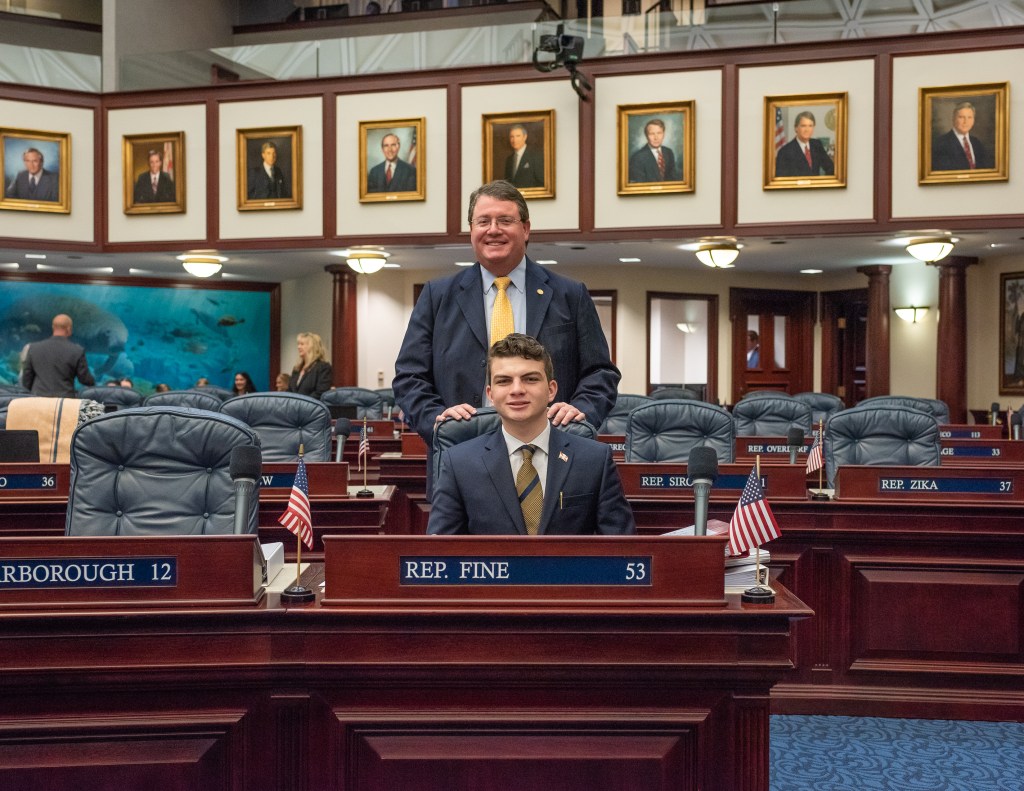
I also enjoy politics. Currently I am working for a representative at the capitol and hope to continue my career in public administration or law. I enjoy making differences that can be felt by mass amounts of people. Heres a picture of my boss and I.
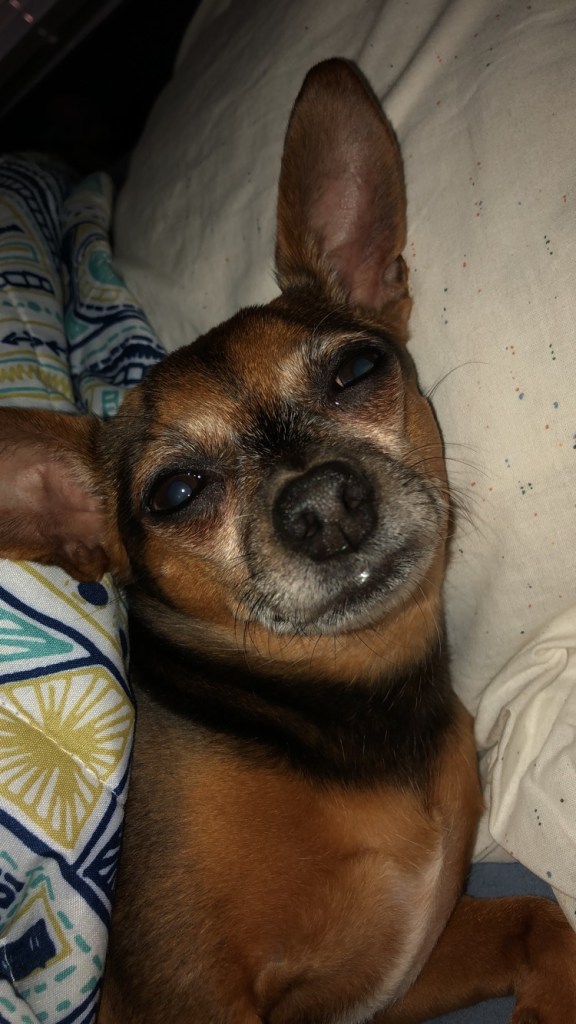
Lastly, I have chihuahua named Lola and she is slightly crazy. She only likes my immediate family (Mom, Dad, Brother) and my neighbor Kurt. I did not like her at first because I’m more of a large dog kinda guy but her psychoness grew on me. Now I look forward to seeing her every time i go home. Here is a picture of the gremlin.